Introduction
Incorporating Single Sign-On (SSO) authentication into your network infrastructure is a powerful way to bolster security and simplify user access to a myriad of applications. In this guide, we will guide you through the process of seamlessly integrating the Swivel Secure SSO Portal solution, your first line of defense, with Citrix NetScaler 13. This integration ensures a secure and streamlined authentication experience for your users.
Configuring Sentry SSO
To get started, follow these steps to configure Sentry SSO:
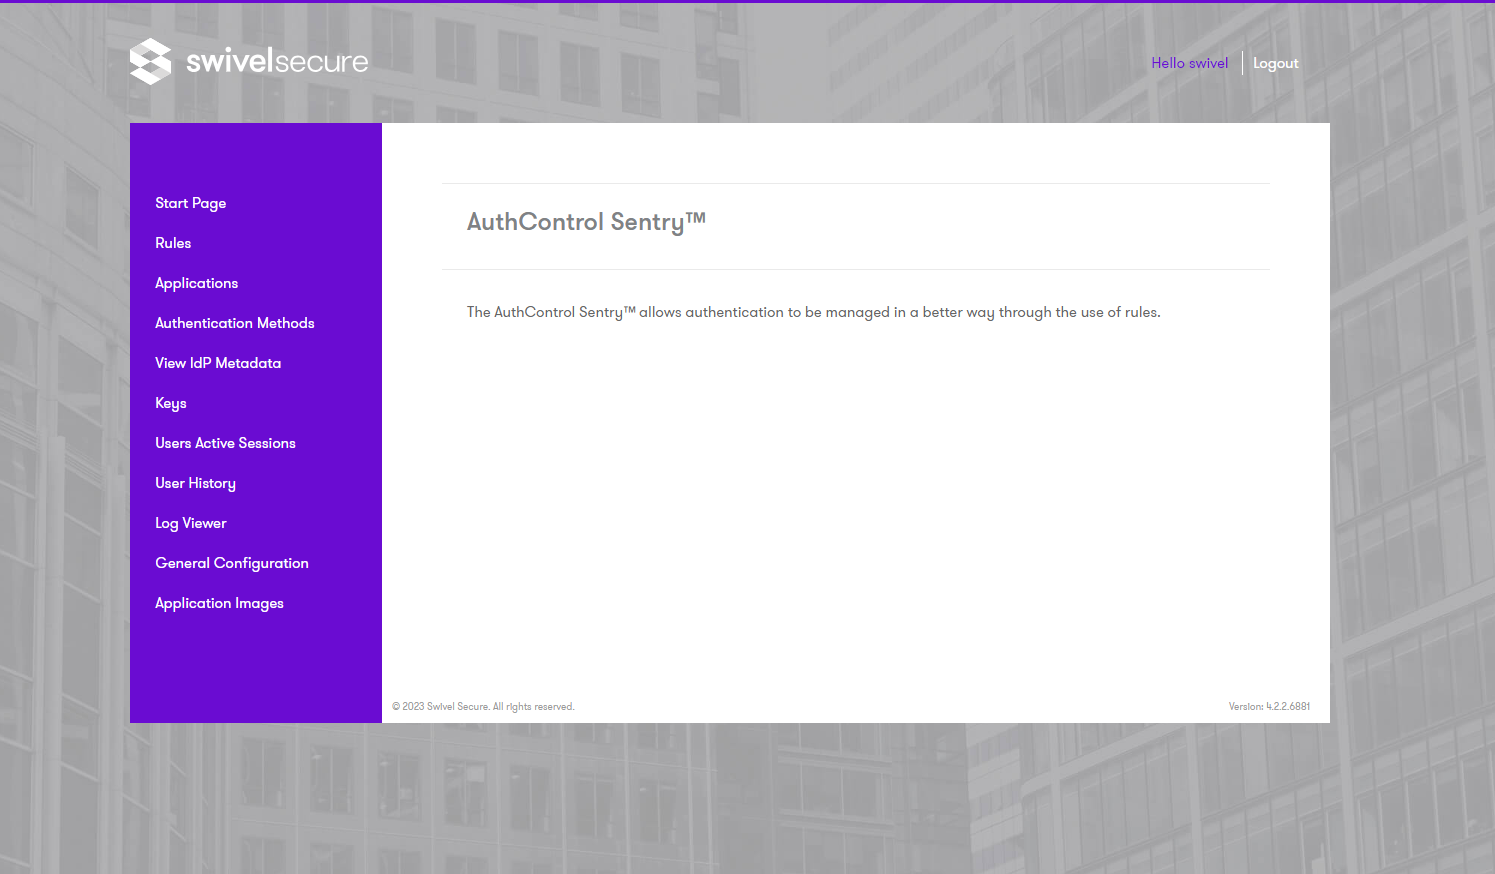
Log into Sentry SSO as an administrator and open the Admin Menu.

If you do not have a copy of the SSO certificate, click on Keys, then Download the Cert. You will need this when setting up NetScaler.
Create an application for NetScaler:
Click on Applications.
Click Add Application.
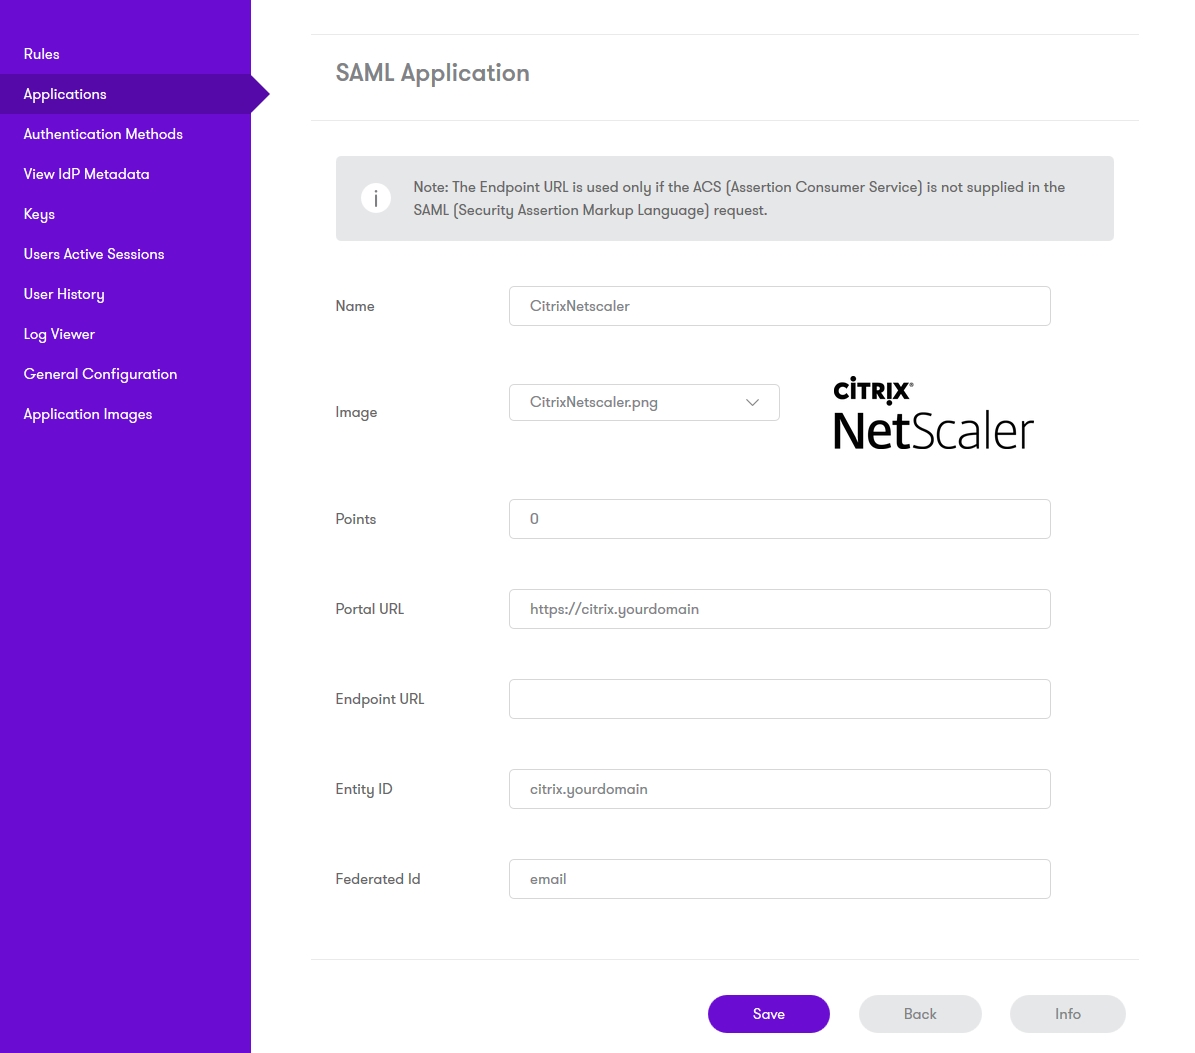
Select SAML – Citrix NetScaler as the type.
Enter a name for the application.
Set the number of points required.
The Portal URL should be the public URL for the NetScaler target server.
Endpoint URL can be left blank.
Entity ID should be a name that uniquely identifies the NetScaler. You will need to use the same name in the NetScaler.
Federated Id should be the Sentry attribute that you will use to identify the user.
The remaining settings can be left as default.

Configuring the NetScaler
Note: Whenever sentry_host is included in a URL below, you should substitute the public hostname and port (if not default) for your Sentry server.
Install the Sentry Certificate
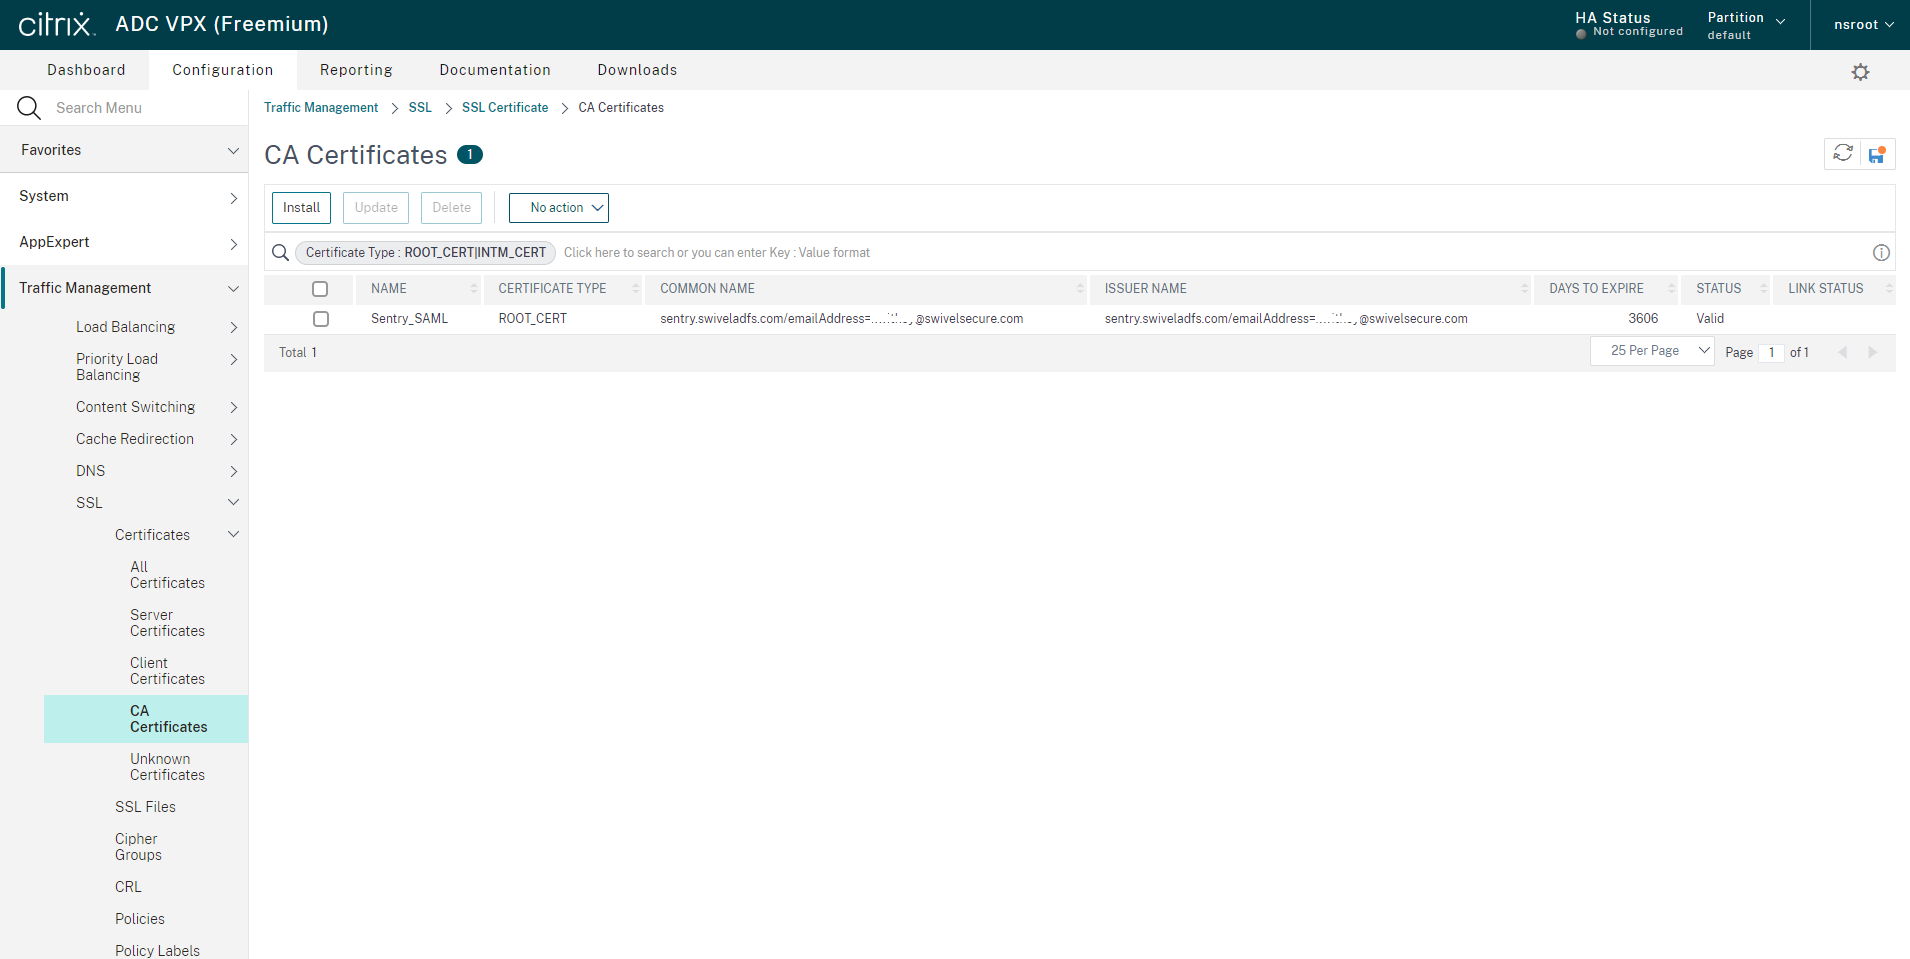
From NetScaler Configuration, select the option Traffic Management -> SSL -> Certificates -> CA Certificates. Click Install.
Enter a name for the certificate and select the certificate file you downloaded from Sentry.

Create a SAML Authentication Action
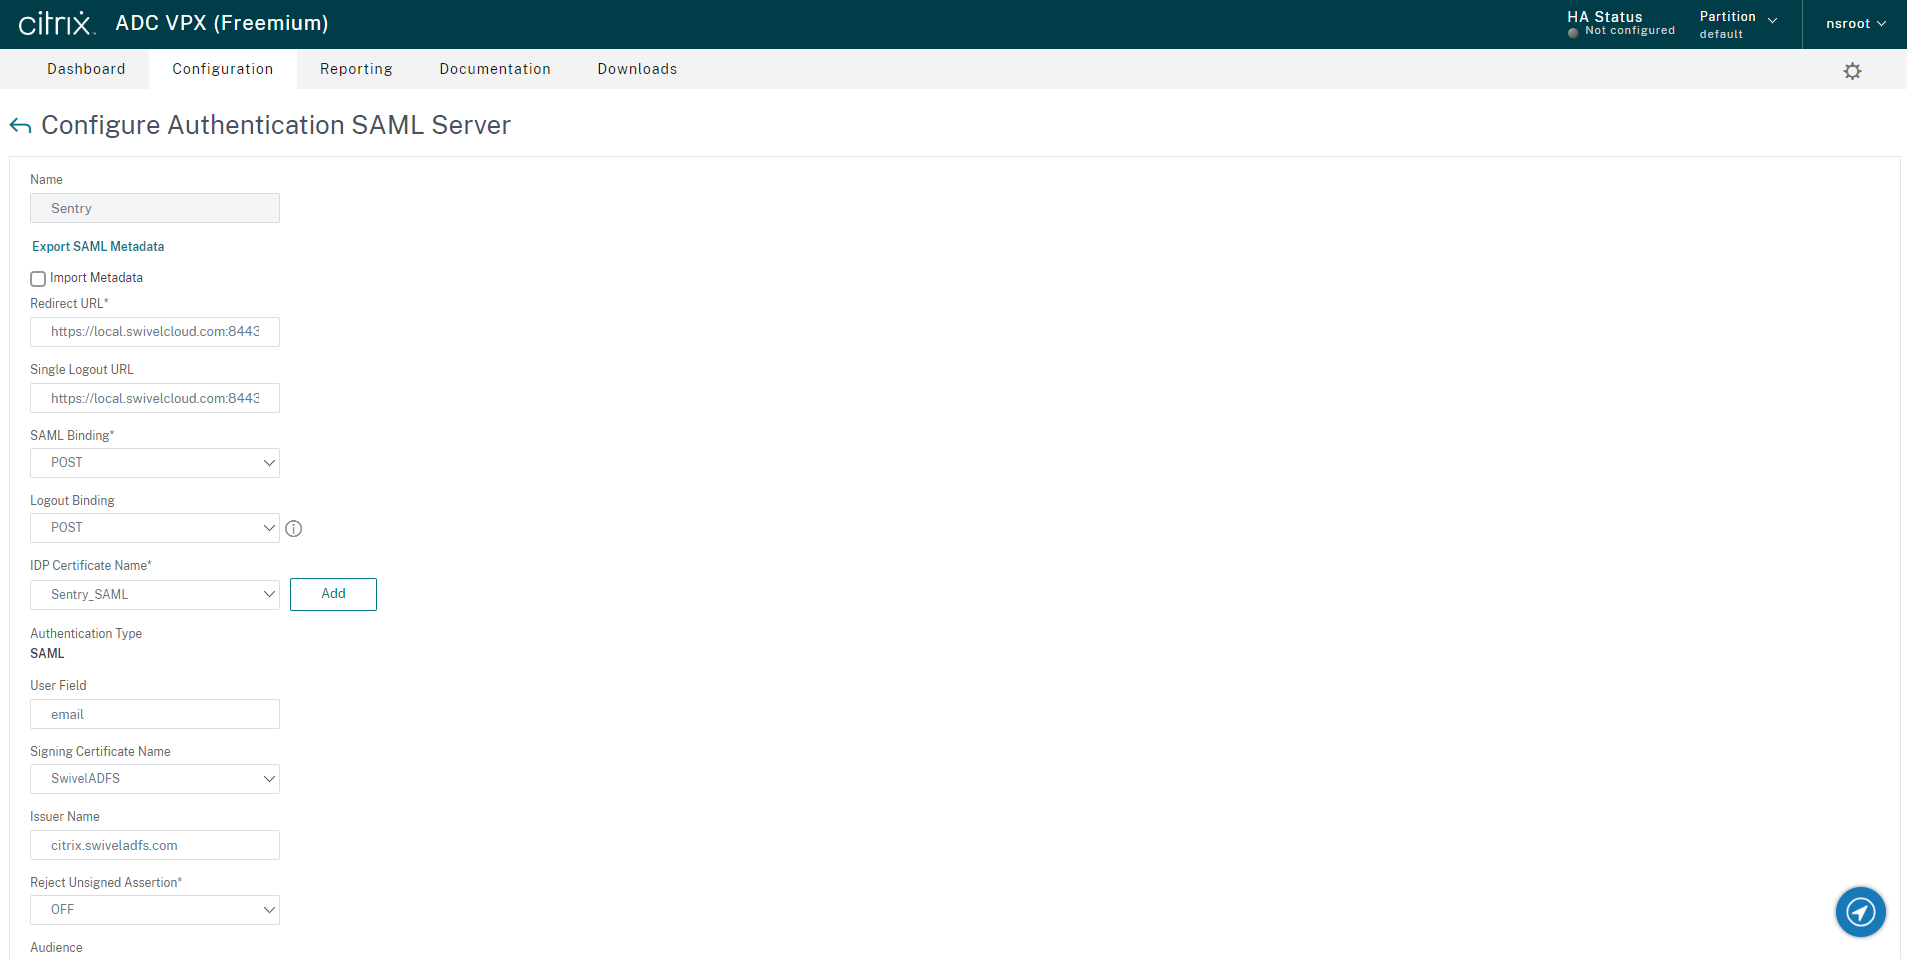
From NetScaler Configuration, select the option Security -> AAA-Application Traffic -> Policies -> Authentication -> Advanced Policies -> Actions -> SAML. Click Add.
Uncheck Import Metadata
Redirect URL: https://sentry_host/sentry/saml20endpoint
Logout URL: https://sentry_host/sentry/singlelogout
SAML Binding: POST
Logout Binding: POST
IDP Certificate Name: select the certificate installed previously
User Field: userid
Signing certificate name: not required
Issuer Name: ensure this is the same as the Entity ID entered in the Sentry application
Reject Unsigned Assertion: Off
Audience: suggest you use the same as Issuer Name

Create a SAML Authentication Policy
From NetScaler Configuration, select the option Security -> AAA-Application Traffic -> Policies -> Authentication -> Advanced Policies -> Policy. Click Add.
Enter a name for the policy
Action Type: SAML
Action: select the Action created previously
Enter an expression: use “true” if the policy should always be applied.
Create an Authentication Virtual Server
From NetScaler Configuration, select the option Security -> AAA-Application Traffic -> Virtual Servers. Click Add.
Configure the virtual server according to your environment.
Add an Advanced Authentication Policy using the one created previously.
Create an Authentication Profile
Enable Sentry Authentication on a Load Balancer Virtual Server
Select the virtual server you want to apply Sentry Authentication to. Click Edit.
Under Authentication: - Select Form-Based Authentication. - Enter the public URL for the Authentication Virtual Server. - Select the Authentication Virtual Server and the Authentication Profile.
Conclusion
By following these steps, you can seamlessly integrate Sentry SSO authentication with Citrix NetScaler 13, enhancing security and user access management in your network infrastructure.
Select the virtual server you want to apply Sentry Authentication to. Click Edit.
Under Authentication: - Select Form-Based Authentication.