Migration to Swivel Appliance OS 5.x
Overview
This article is a step-by-step guide to migrate to the latest Swivel Appliance version. Please read carefully and follow the instructions to avoid any Issues.
Warning
Swivel Secure highly recommend customers to engage our Professional Services, especially where High Availability appliances have been deployed and authentication is a critical service. Please email supportdesk@swivelsecure.com if you need assistance.
Requirements
Swivel Appliance OS Version: 5.x or higher (to obtain the latest version of the appliance, please contact sales@swivelsecure.com who can reissue your VM Download email if you are in an active support agreement)
Update to AuthControl Sentry 4.2.3 or higher prior to migration
Command Line Interface access may be required in some migration cases. Typically a migration should be performed by an accredited Swivel Secure partner or Swivel Secure engineer. Otherwise, access to the Command Line would require the customer to sign a warranty waiver form. Please contact supportdesk@swivelsecure.com for further details.
Migration Steps
Preparation (Old Appliance)
Warning
These steps will cause a service impact on your old live appliance, but they will make the restored appliance safer to work with.
Make the following temporary changes on your live, old appliance, prior to backup:
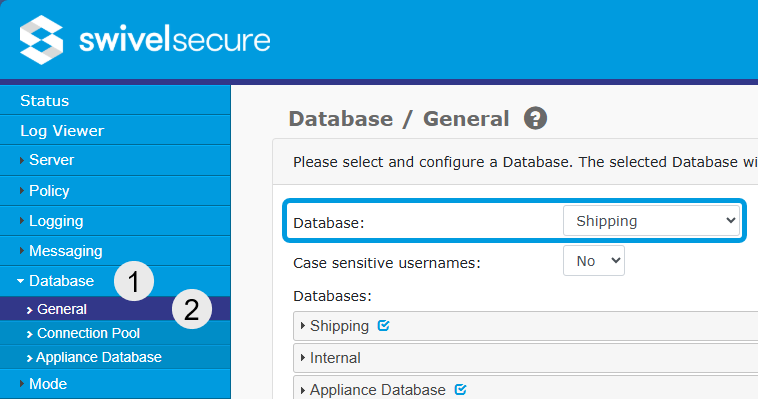
Set the database to Shipping. Take a note of what it was set to previously. In most cases it will be set to ‘Appliance Database’. This will mean that when your backup is restored you can login to the Administration interface with the default admin / 1234 credentials. It means you can review the Log Viewer in the event that your restored database does not work:
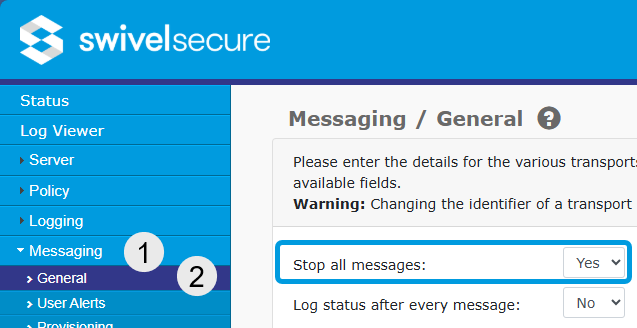
Stop messaging. This will prevent any messages being sent out accidentally, en masse to your users due to a bad configuration or upgrade bug:
Stop repository syncing. This will prevent new users being added or accidentally removed in the event of a bad database restoration:

Backup Old Appliance
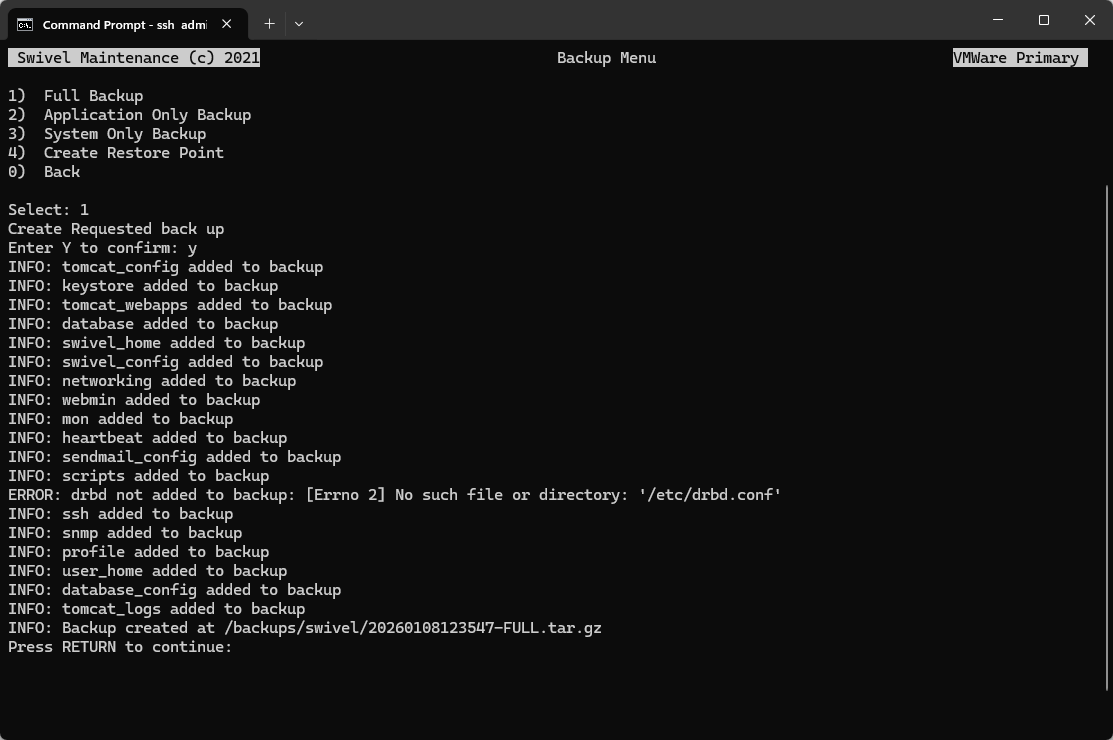
Once you have carried out the above preparation, from the CMI Main Menu, select the Backup and Restore menu option. Then select Backup. Then select Full Backup:
Note
A Full Backup is recommended as it captures the database, configuration, and appliance settings.
On screen you should see “INFO: Backup created at /backups/swivel/….tar.gz”
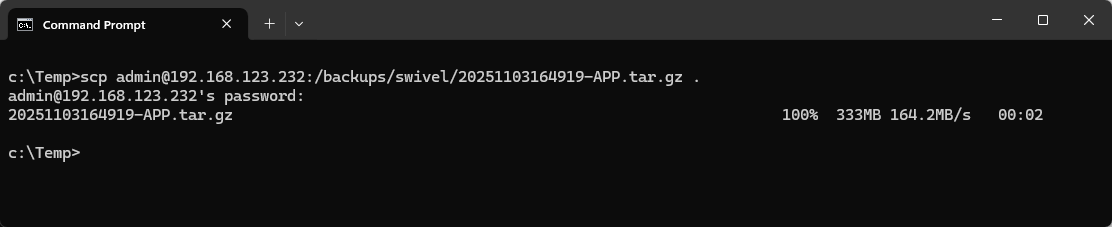
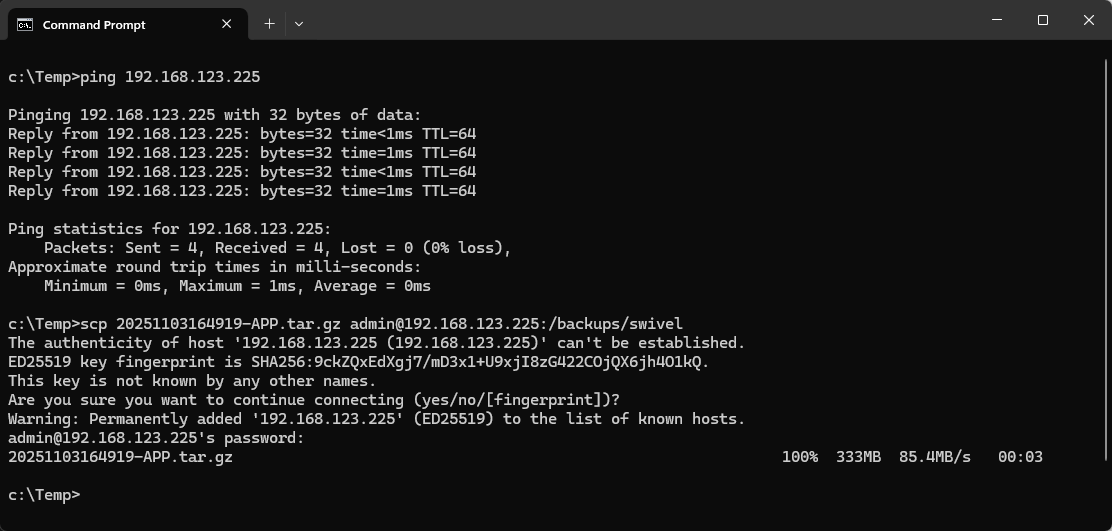
You can now copy off the backup file to your workstation using an scp client such as WinSCP, or the scp command in Windows:
Deploy and Configure New Appliance
Deploy the new appliance to your hypervisor. Once deployed, access the CMI (Command Line Interface) to perform the initial configuration before restoring your backup.
1. Networking Configuration
Navigate to the Networking menu in the CMI.
Hostname/DNS/Gateway: Set your desired Hostname, DNS servers, and Default Gateway.
- IP Address: Configure the network interface.
Important: If your old appliance is still running, ensure you use a Temporary IP address on the new appliance to avoid an IP conflict. You will swap this to the Live IP later in the process.
2. High Availability Configuration
Navigate to High Availability in the CMI.
Configure the HA menu settings to match your desired architecture (or postpone this until you’ve put the new appliances on the live IP addresses).
Restore Backup
Copy the backup to the new appliance:
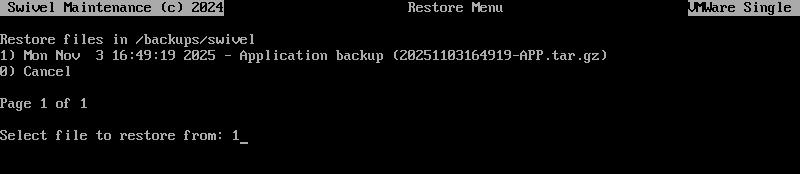
In the new appliance CMI Main Menu select Backup and Restore. Then select Restore. Then Application Only Restore:
Note
Even though you took a Full Backup, you must use Application Only Restore when migrating to a new OS version. This ensures that your new Networking and HA settings configured above are not overwritten by the old appliance configuration.
Access the New Appliance
Login to the Administration interface of the new appliance on https://<temporary_IP>:8080/sentry.
On the new appliance - revert the changes you made in the Preparation section above: set the Database back to ‘Appliance Database’, or whatever was selected previously. Start Messaging again and enable the Repository sync schedule.
Stop the Old Appliance
From the CMI main menu, select Administration -> Shutdown, to shut down the old appliance.
Set the New Appliance to Live IP
Note: If you already configured the Live IP during the “Deploy and Configure” phase (because the old unit was already off), you can skip this step.
Now, on the new appliance:
From the CMI main menu, select Networking -> Change Interface IP Addresses -> en160 and set the IP to be the live IP address that was used by the old appliance.
From the CMI main menu, select Appliance -> Start or Stop services. Stop and start Database. Stop and Start Tomcat.
Login to the Administration interface of the new appliance on https://<live_IP>:8080/sentry.
High Availability Database Sync
If you are configured for High Availability, you must now sync the database from the new Primary to the Standby.
Warning
Ensure that the new appliances are running on their Live IP addresses and that the old appliances are completely disconnected or shutdown. Running both old and new appliances on the same IPs during a sync can cause corruption or conflicts.
On the new Primary appliance, navigate to the CMI Main Menu.
Select High Availability.
Select Database replication.
Select the option to sync the database to the Standby unit.
Verify Two-Way Database Sync
To ensure data is replicating correctly in both directions between the Primary and Standby:
Login to the Administration Console on the Primary appliance.
Go to User Administration, select a test user, and click Policy.
Check the box for PIN never expires and click Apply.
Login to the Administration Console on the Standby appliance.
Go to the same user and click Policy. Verify that PIN never expires is checked (checking this box should replicate to the other machine instantly under normal conditions).
Now, on the Standby appliance, uncheck the PIN never expires box and click Apply.
Go back to the Primary appliance and refresh the user’s Policy page. Confirm the box is now unchecked.
Test your Integrations
Login to your remote access or cloud applications that are secured by the Swivel Secure appliance.
Review the Log Viewer to check for any issues.